
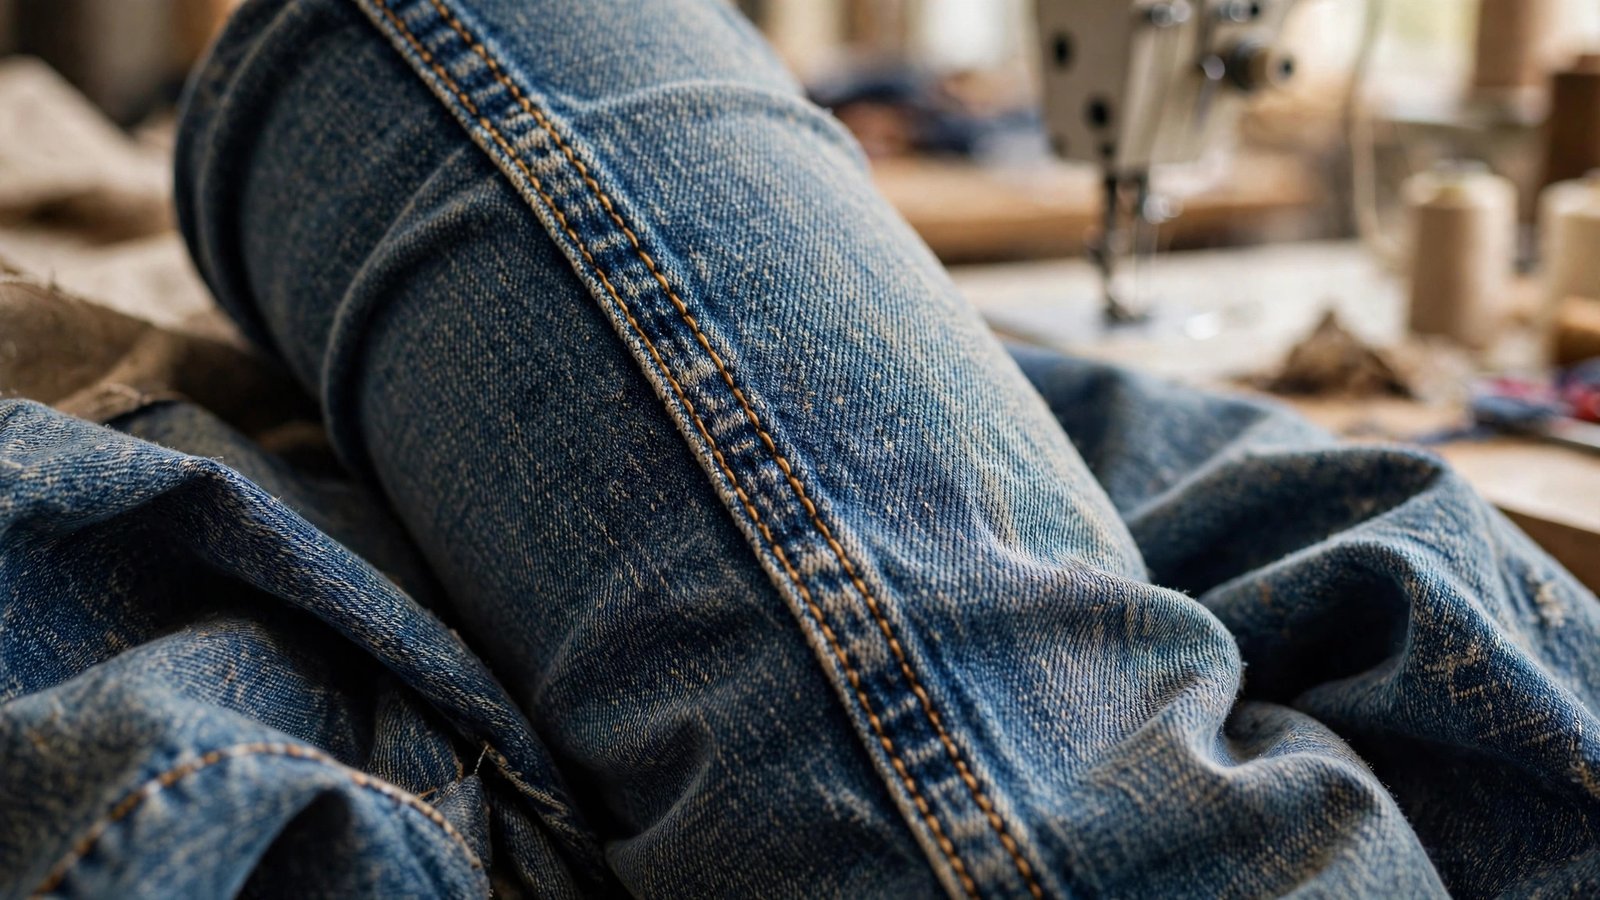
Buyers inspect fabric handle, check colour against the lab dip, and count stitches per inch at the hem. Yet the seam — the joint that holds a garment together — is the part of construction most buyers skim past. That is a mistake, because a garment almost never fails at the fabric. It fails at the seam: the crotch that bursts, the neckline that ripples after three washes, the shirt side seam that twists because the allowance was shaved to save thread.
Understanding the types of seams in garments matters twice over. For quality, the seam decides durability, comfort, and wash behaviour. For cost, the seam is a bill of materials decision hiding in plain sight: the labour content of a garment lives largely in how its pieces were joined. This guide walks through the eight recognised seam classes, compares them on strength, cost and appearance, and then shows you how to read them the way a buyer should — as signals of construction grade and quotation honesty.
The shared language: eight seam classes
The industry’s common vocabulary comes from ISO 4916:1991, which classifies seam types according to how the fabric layers are positioned when they are sewn. The standard groups seams into eight classes; most factory spec sheets and tech packs worldwide use this framework (the Standards Council of Canada’s adoption page summarises the scope of the standard). Knowing the classes lets you name what you see on a sample instead of describing it vaguely as “that double-stitched thing”.
Class 1 — Superimposed seams. Two or more plies are laid on top of one another and sewn near the edge. This is the workhorse of the industry: shirt collars and cuffs, waistband attachments, and the classic plain seam where two panels meet. Raw edges are usually finished separately, often by overlocking. The French seam — enclosed entirely, no raw edge visible — is a refined member of this family, common in sheer fabrics and higher-grade shirting.
Class 2 — Lapped seams. The edges overlap and are stitched through the layers. The famous example is the flat-felled seam on a denim outseam: one edge folds over the other, and two rows of stitching lock it down, leaving no exposed raw edge on the inside. Lapped seams also appear on shirt yokes and workwear, anywhere strength matters more than a soft hand feel.
Class 3 — Bound seams. A separate binding strip wraps around the raw edge and is stitched in place. You see it on T-shirt necklines, the inside edges of unlined jackets, and lingerie. Binding adds a material and an operation, but it delivers a clean finish and a comfortable edge that will not fray.
Class 4 — Flat seams. The two edges meet edge-to-edge — butt-joined — and are stitched flat with no overlap. This is the seam of activewear and underwear, where any ridge would chafe against the skin. It demands precise cutting and specialised flatlock machinery, so it is less forgiving in production than it looks.
Class 5 — Decorative and ornamental seams. These are sewn for appearance or surface effect rather than joining strength: pin tucks, rows of decorative topstitching, quilted channels. They are part of the classification because they follow the same geometry rules, and because a tech pack should distinguish a seam that carries load from one that only carries a design.
Class 6 — Edge finishing. Seams that neaten a single edge rather than join two pieces: overlocked raw edges, folded hems, the rolled hem on a scarf. Almost every garment carries edge-finishing seams, which is why overlocking quality — loose loops, skipped stitches — shows up so often in inspection.
Class 7 — Applied seams. A separate component is applied onto a single ply: patch pockets, flaps, appliqué motifs, elbow patches. The “seam” here is the attachment, and its quality determines whether a pocket peels after washing.
Class 8 — Single-ply construction. One piece of fabric is folded and sewn into a tube or strap: belts, drawcords, shoulder straps, neckties. Simple in concept, but the turning and pressing quality decides whether the strap lies flat or twists.
Strength, cost and appearance compared
Not all seams are interchangeable, and the differences are systematic:
- Strongest construction: the flat-felled lapped seam (Class 2). Multiple needle passes through several plies make it the default for denim and heavy workwear. Its cost per inch is among the highest of ordinary construction seams — it consumes more thread, more machine time, and more operator skill to fold and guide evenly.
- Best comfort on stretch and body-contact areas: the flat seam (Class 4). It trades some joining strength for a ridge-free finish, and the machinery it requires means not every factory can produce it well.
- Cleanest raw-edge finish: the bound seam (Class 3). It adds a binding strip — extra material plus an extra operation — so it costs more than an overlocked edge but looks and feels more premium, which is why it appears on better knitwear and unlined tailored garments.
- Cheapest standard construction: the superimposed plain seam with overlocked edges (Class 1 + Class 6). One quick pass of a lockstitch machine, then the overlocker cleans the edge. There is nothing wrong with it — most of the world’s apparel is built this way — but it is the baseline, not a feature.
- The middle ground: a superimposed seam finished with a coverstitch on knits, or a lapped seam with a single needle row. Factories mix classes deliberately to balance cost against the garment’s stress map.
A useful rule of thumb: where a garment takes stress — crotch, armhole, pocket corners, shoulder — the seam should step up a class; where it touches skin or shows on the outside, comfort and appearance take priority. Any factory that builds the reverse has optimised for sewing speed, not for the wearer.
The buyer’s lens: what seams reveal about grade and price
Here is the part most seam guides skip, because they are written for the classroom rather than the buying office. Every seam choice is a cost decision, and once you can read it, quotations become transparent.
1. Compare construction tiers, not just fabric prices. Two factories quote the same cotton poplin shirting at visibly different prices. The fabric is identical — so look at the seams. One uses flat-felled side seams and a bound inner placket; the other uses plain overlocked side seams. The difference in labour content is real and legitimate, and it explains the gap. Until you have checked the seam specification, you have not compared the two quotes at all.
2. Watch for the downgrade swap. When a revised quotation comes back cheaper, the first question should be: what changed in the construction? The common cost-reduction substitutions are predictable: a flat-felled seam replaced by an overlocked seam with a single topstitch; a bound neckline replaced by an overlocked and coverstitched edge; a French seam on a sheer blouse replaced by a plain overlocked seam. Each swap is invisible on a flat product photo but obvious in hand — and each saves real minutes of sewing time per garment. None of them is automatically wrong, but a price cut achieved by quietly changing the seam is not a negotiation win; it is a specification change that should have been declared and approved. Ask for the seam map of the revised quote before you celebrate the saving.
3. Audit stress points on the approval sample. Turn the garment inside out and read the seams the way a QC inspector reads a garment defect classification report: look for puckering along superimposed seams (feed imbalance), skipped stitches at the start and end of runs, and seam allowances that wander below the specified width. Check the crotch and armhole — the highest-stress joins — for reinforcement such as bar tacks or double rows. A factory that builds durability into the seams it knows you will not photograph is a factory that builds quality everywhere.
4. Match the seam to the fabric’s behaviour. Stretch knits need seams that stretch with them — a rigid lockstitch row on a jersey neckline will snap or pucker, which is why understanding knit vs woven fabric behaviour matters before you approve a seam plan. If a factory proposes a superimposed lockstitch seam on a high-stretch knit, ask what thread and stitch configuration they intend; the wrong answer tells you the factory does not sew that fabric regularly.
5. Read the inside of the garment as a grade label. Premium construction leaves evidence on the inside: enclosed or bound edges, even topstitching, consistent allowances. Economy construction shows raw overlocked edges and single rows. Neither is a defect — each is appropriate at its price point — but the inside must match the price you agreed. A garment priced as premium and sewn as economy is the oldest trick in the sourcing book, and the seams are where it always shows.
None of this replaces the normal quality checkpoints across garment production workflow stages, from cutting through finishing. It simply adds the cheapest inspection tool you own: your eyes, turned inside-out.
Writing seams into a spec sheet
Vague tech packs produce vague garments. For each seam location on the garment — neckline, shoulder, armhole, side seam, inseam, hem — the spec sheet should state:
- The seam class and type in plain words, e.g. “flat-felled, double needle” or “bound neckline, 12 mm binding”. Avoid relying on class numbers alone; factories in different regions number subtypes differently, and a photograph of an approved sample seam removes all ambiguity.
- Edge treatment for every raw edge, stated separately from the construction seam: overlocked, bound, turned, or enclosed. An unspecified edge will be finished with whatever the factory finds cheapest.
- Thread and stitch density only where you have a standard. If your brand specifies a stitches-per-inch range for shirting, write it down; if not, reference the sealed sample and require the bulk to match it.
- A substitution rule. State that any change to seam type or edge treatment requires written approval before bulk cutting. This single line is what gives you standing when a revised quotation arrives with quietly downgraded seams.
Keep a photo library of approved seams from your best production runs. When a new factory asks what “your standard flat-felled seam” looks like, a photograph settles the discussion faster than any paragraph.
The bottom line
Seams are the one part of a garment where quality, cost and honesty intersect visibly. The eight classes give you a shared language; the strength-cost-appearance trade-offs give you a way to judge whether each seam is fit for its position; and the buyer’s lens turns that knowledge into leverage — the ability to see why two identical-looking garments carry different prices, and to catch the moment a cheaper quote is really a cheaper garment.
Next time a sample lands on your desk, turn it inside out before you look at the outside. The seams will tell you what the factory thinks your price point is worth — and whether they are right.
