
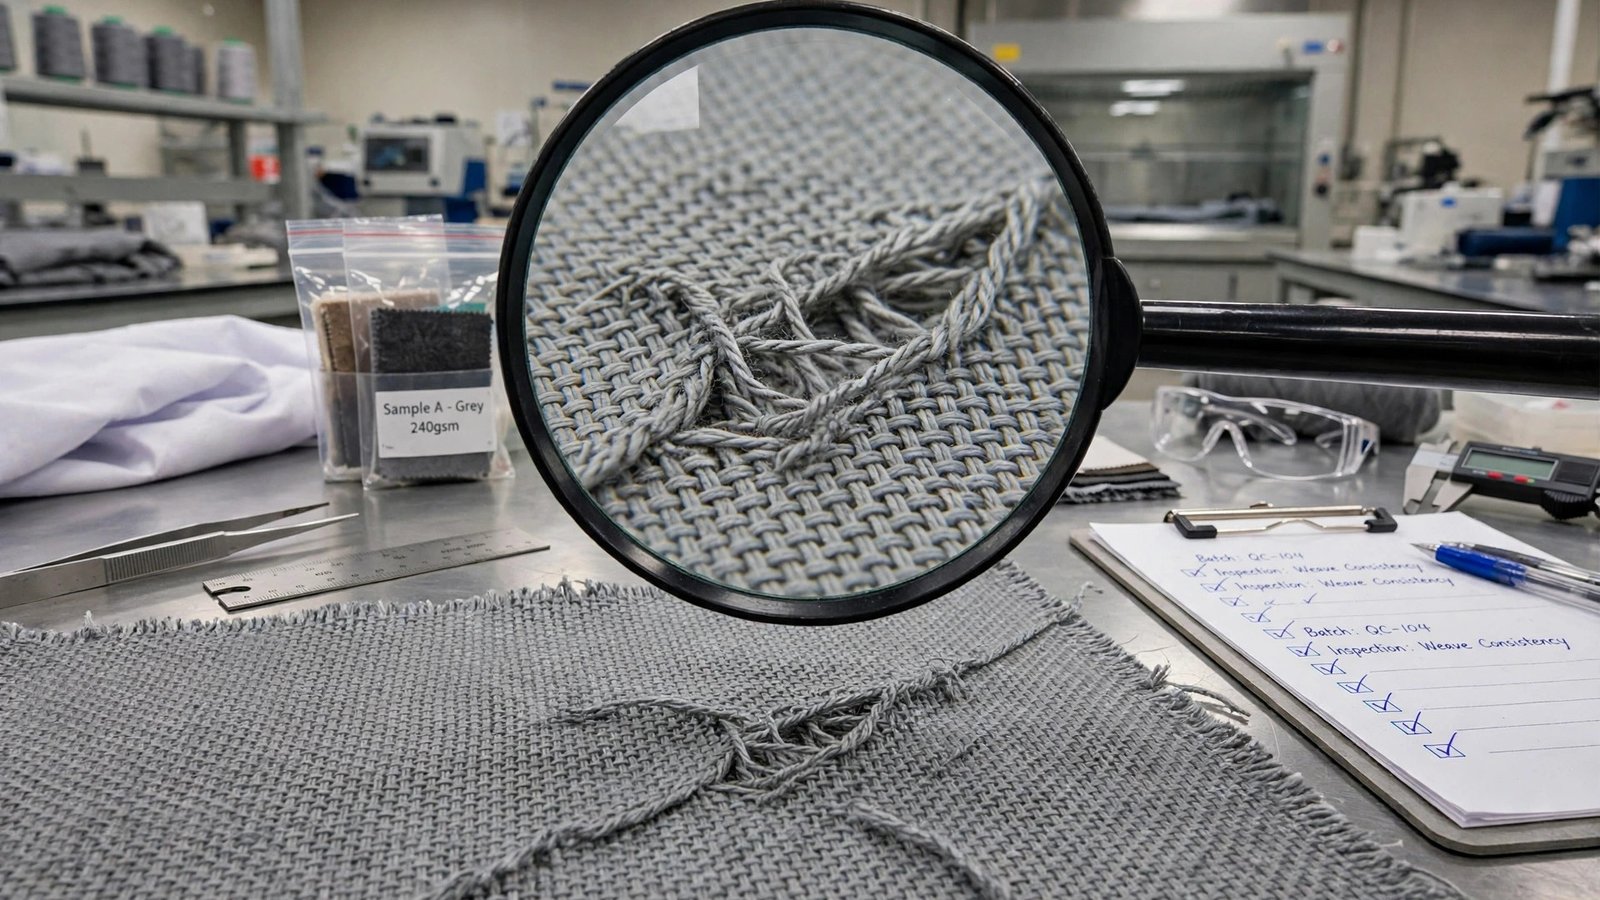
Most guides to types of fabric defects read like encyclopaedias: long lists of names, a photograph of each, and no guidance on what matters. A buyer inspecting a shipment does not need a textbook. They need an answer to one question: which defects are serious enough to reject a roll, and which can be tolerated without risking the finished garment?
This guide organises fabric defects from that acceptance perspective. The seven groups below follow where each defect comes from in the production chain — from fibre and yarn through weaving, pattern, wet processing, and finishing — because origin tells you a lot about severity, repeatability, and who is responsible for fixing it. Then we move to the decision tools buyers actually use: the 4-point system for scoring defect penalties, the critical/major/minor severity framework for accept/reject calls, and how to write defect requirements into your specification sheet so there is no argument at final inspection.
A quick note on scope: this guide covers fabric-level defects only. Defects that appear after cutting and sewing — stitching faults, assembly errors, size deviations — belong to a different inspection discipline and are covered separately in our garment defect classification guide. Fabric-level and garment-level defect systems complement each other; together they form the full inspection picture.
Why Buyers Need Their Own Classification View
Suppliers classify defects by process stage because their job is prevention: the weaving department fixes weaving faults, the dyeing department fixes wet-processing faults. Buyers, on the other hand, make accept-or-reject decisions on fabric they did not produce. What matters at receiving inspection is not who caused the fault but how it affects the garment: will this show on the finished product? Will it weaken the fabric? Can the cutting room work around it?
Origin still matters to a buyer, though, for two practical reasons. First, defects from the same process family tend to repeat across a roll in predictable ways — warp streaks run the length of the fabric, dye shade variations appear in patches — which affects how you mark and cut around them. Second, knowing the origin makes conversations with the mill productive: “this is a tension-related selvedge defect” points to a specific loom setting, whereas “bad fabric” points to nothing.
The Seven Groups of Fabric Defects by Origin
1. Yarn-Related Defects
These originate in spinning — slubs, neps, thick and thin places, and yarn breakage repaired with knots. On the fabric face they appear as raised spots, knots, or periodic thick bars across the width. In apparel fabrics, occasional minor slubs may be acceptable in textured or rustic styles (denim, slub linen blends) where the irregular hand is part of the aesthetic, but they are defects in fine shirting or uniform fabrics where surface uniformity is specified.
2. Weaving Defects
Faults introduced at the loom: broken picks, missing yarns, double picks, reed marks, starting marks, and broken or wavy selvedges. These run in predictable directions — pick-related defects travel across the width, warp-related defects travel down the length — which makes them easy to identify but hard to hide. Broken selvedges deserve special attention because the selvedge carries the fabric through the finishing range under tension; a weak selvedge can produce wavy edges, off-grain fabric, and cutting losses even where the main fabric looks sound.
3. Isolated Defects
Single occurrences not tied to a recurring process fault: oil stains, dirty marks, water spots, holes from handling, and contamination such as fly fibre or foreign matter woven in. The key buyer characteristic is that isolated defects are sporadic — they do not follow a pattern across the roll. This makes them candidates for flagging and cutting around rather than rejecting a whole roll, provided the inspection procedure marks them clearly and the marker utilisation can absorb the waste.
4. Pattern and Print Defects
In patterned wovens, dobby, jacquard, or printed fabrics: off-register prints, misaligned repeats, missing pattern elements, and shade mismatch between the pattern and ground. These are particularly damaging in apparel because pattern alignment determines whether panels match at seams. A misregistered print that looks trivial on a swatch becomes obvious when a shirt placket or trouser side seam fails to align. Matching and pattern-continuity clauses in your fabric specification checklist should state tolerances explicitly.
5. Wet-Processing Defects
Faults from dyeing and wet finishing: unlevel dyeing, shade variation (side-to-centre or end-to-end), crease marks, streaks, running marks, water spots, and dye spots. The buyer-relevant distinction is between defects that affect appearance uniformly (shade bands visible on the finished garment) and those confined to areas the cutter can avoid. Shade variation is the classic commercial dispute: always agree in advance how shade is assessed — under which standard light source, against an approved strike-off, and with what tolerance between cut panels.
6. Raising and Brushing Defects
Defects from mechanical surface finishing: uneven raising, brushed marks, bald patches where the nap is worn away, and crushed pile in velvets and corduroys. In napped and pile fabrics these defects are often irreversible — there is no finishing step that restores an evenly raised surface. Buyers should inspect raised and pile fabrics under angled light, which reveals nap irregularities that disappear under flat lighting.
7. Milling and Fulling Defects
Faults from the milling process used on woollens and some worsted blends: over-milling that thins the fabric, uneven shrinkage producing cockled surfaces, and uneven felting. Milling defects affect hand, dimensional stability, and appearance simultaneously. Where a wool-blend fabric shows irregular shrinkage, confirm the issue against your fabric shrinkage test specifications before concluding that the roll is out of tolerance rather than simply at the edge of it.
The 4-Point System: Scoring Defect Penalties
Buyers need a numerical language for fabric quality, and the 4-point system is the most widely used in apparel. It assigns penalty points to each defect based on its length:
- Defects up to 3 inches (7.6 cm): 1 point
- Defects over 3 inches up to 6 inches: 2 points
- Defects over 6 inches up to 9 inches: 3 points
- Defects over 9 inches: 4 points
Two conventions that matter in practice. First, no single linear yard is assigned more than 4 points, regardless of how many defects it contains — this caps the penalty for a cluster of small faults. Second, certain faults that would always require cutting out a full panel width — holes, broken picks running across the full width — are commonly assigned 4 points per occurrence by buyers, even though some mill-side conventions score holes differently. State your own rule in the specification sheet.
The result is calculated per 100 square yards: total penalty points divided by inspected fabric area, normalised to 100 square yards. Common practice in apparel is to accept rolls up to a threshold in the low tens of points per 100 square yards, with tighter limits for critical or premium fabrics — but the number itself is a commercial agreement between buyer and supplier, not a universal law. What matters is that the threshold, the scoring rules, and the “4 points per yard maximum” convention are written down and agreed before the first shipment is inspected.
The 4-point system has a known weakness: it treats all defect types equally by length. A 4-inch oil stain and a 4-inch dye streak both score 2 points, but the oil stain may wash out while the dye streak is permanent. That is where severity classification comes in.
Critical, Major, Minor: The Accept/Reject Decision
Severity classification answers the question the 4-point system cannot: what happens if this defect ships in a finished garment?
Critical defects are faults that make the garment unwearable or unsafe: holes, tears, contamination with foreign objects, and chemical damage that degrades strength. The decision rule is absolute — any critical defect found during inspection fails the lot, regardless of point totals.
Major defects are faults that affect appearance, function, or wearability in a way the consumer will notice: visible shade bands, prominent streaks, broken picks in conspicuous areas, and misaligned prints at matched seams. Common practice is to classify a roll or lot by how many major defects it contains; many buyers reject at a small number of majors per inspected roll, since each major typically forces a panel to be recut.
Minor defects are faults unlikely to affect the garment’s appearance or performance in normal use: small slubs in non-conspicuous areas, isolated neps, slight nap irregularity that flattens in finishing. Minors are usually accepted within an AQL-style allowance, and they are the category where cutting-room management — placing the defected area in an inconspicuous panel or between markers — is the practical solution rather than rejection.
The buyer judgement is this: the 4-point system gives you a comparable number for comparing rolls and suppliers over time; the severity framework gives you the decision. A roll can pass on points but still fail on one critical defect. Write both into your inspection procedure so inspectors never have to choose which rule applies.
Writing Defect Requirements into Your Spec Sheet
Disputes at final inspection almost always come from requirements that were implied rather than stated. A defect clause in your specification sheet should cover, at minimum:
- The inspection standard: 4-point system, with your scoring rules for holes and full-width defects stated explicitly.
- The acceptance threshold: penalty points per 100 square yards, and whether the threshold tightens for specific fabric types or price tiers.
- Severity definitions: your critical/major/minor categories with examples relevant to the fabric in hand — not generic lists.
- Shade assessment procedure: standard light source, reference strike-off, panel-to-panel tolerance.
- Cuttable width: the usable width between selvedges after accounting for selvedge defects, since suppliers quote grey width and buyers pay for cuttable width.
- Marking and documentation: how defects are flagged on the roll, what the inspection report records, and who signs off on marginal rolls.
Align the defect clause with your garment inspection plan so that fabric inspection, in-line inspection, and final inspection use consistent severity language. Nothing confuses an inspection team faster than fabric graded on one system and finished garments graded on another.
The Bottom Line
The types of fabric defects worth knowing are not the names on a list — they are the faults that change an accept/reject decision. Organise them by origin so you can diagnose and discuss them, score them with the 4-point system so you can compare rolls objectively, judge them by severity so you can decide, and write all of it into your specification sheet so the decision is made before inspection, not during it. Buyers who do this spend their inspection time on judgement calls rather than arguments — and their suppliers know exactly what “acceptable quality” means before a single roll ships.
